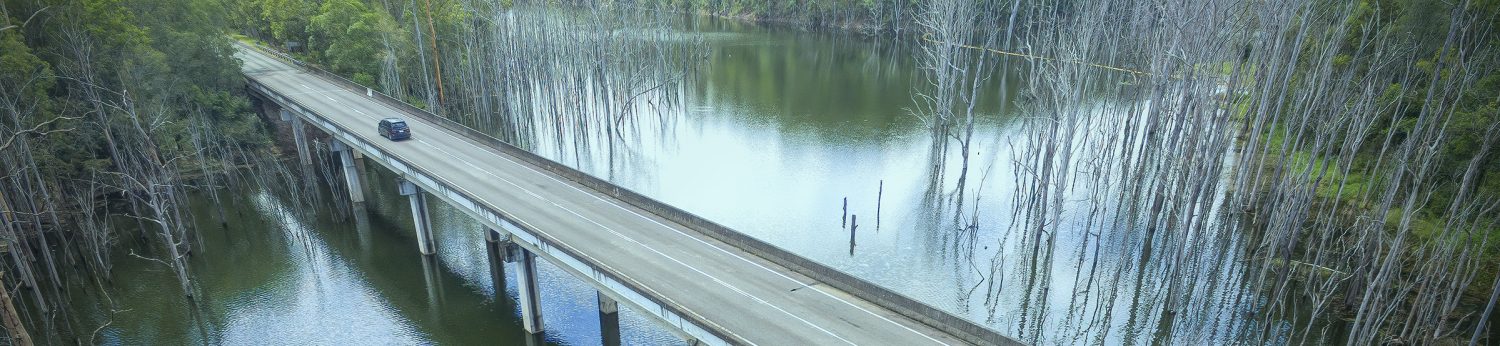

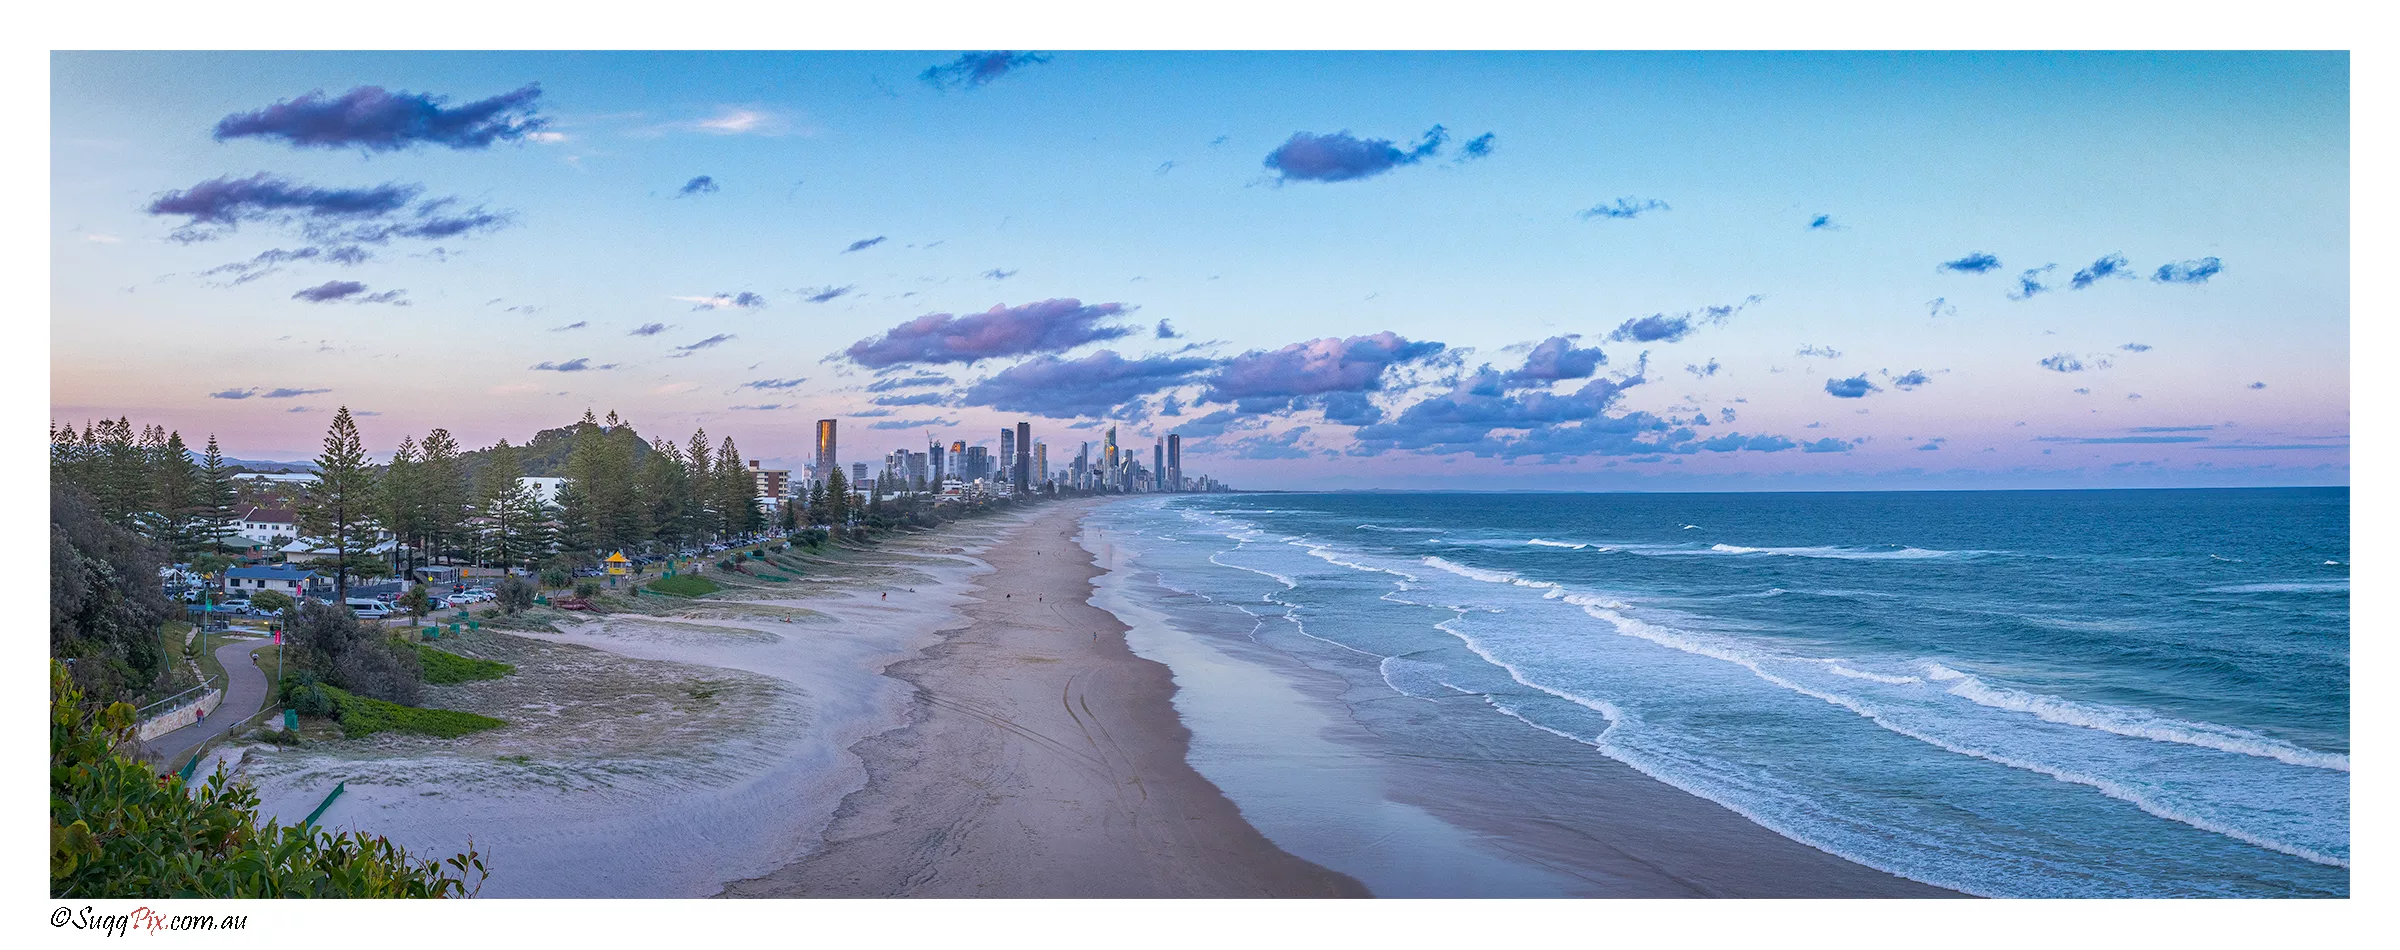
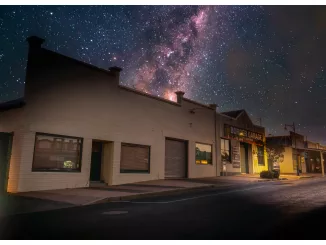
Long exposure photography is a technique where the camera’s shutter is left open for an extended period of time, allowing more light to enter and create interesting effects. It is often used to capture motion blur, light trails, or star trails. By using a tripod or other stabilization methods, the camera can remain steady during the long exposure, while any moving subjects or lights appear as streaks or trails. This technique can produce stunning and creative images, making it popular among landscape photographers, astro-photographers, and those interested in experimental photography.
Long exposure photography can be a fascinating technique that allows you to capture unique and creative images. To get started, you’ll need a few things:
- Camera with manual settings: Make sure your camera allows you to control the shutter speed and aperture manually.
- Tripod: Since long exposures require longer exposure times, a stable camera is essential. A sturdy tripod will help prevent camera shake and ensure sharp photos.
- Remote shutter release or self-timer: Using a remote shutter release or the self-timer function will minimize any vibrations when pressing the shutter button.
- Neutral Density (ND) filter: To achieve longer exposures, especially in bright conditions, it’s helpful to use an ND filter. These filters reduce the amount of light entering the lens, allowing for slower shutter speeds.
Once you have the necessary equipment, here are the general steps to capture long exposure photos:
- Find a suitable subject: Look for subjects that have motion, such as flowing water, moving clouds, traffic trails, or people walking.
- Set up your camera on a tripod: Make sure it’s stable and won’t move during the long exposure.
- Choose a low ISO: Set your camera’s ISO to its lowest value (usually ISO 100 or 200) to reduce noise in the image.
- Select manual mode: Switch to manual mode to have full control over the camera settings.
- Set a slow shutter speed: Depending on the effect you want to achieve, experiment with different shutter speeds. Keep in mind that longer exposures (e.g., a few seconds or more) will create significant motion blur.
- Use a small aperture: To control the amount of light and increase the depth of field, select a smaller aperture (higher f-number).
- Attach an ND filter (optional): If the scene is too bright, attach an appropriate ND filter to reduce the amount of light entering the lens.
- Focus manually: Since autofocus may struggle in low light, switch to manual focus and use the Live View mode to ensure your subject is sharp.
- Compose your shot: Consider the composition and frame your subject creatively.
- Use a remote shutter release: If possible, use a remote shutter release to avoid shaking the camera during exposure. Alternatively, you can use the self-timer function.
- Take your shot: After everything is set up, press the shutter button and let the camera capture the scene for the desired duration.
- Review and adjust: Review your shots and make adjustments as needed. Play with different settings and shutter speeds to achieve the desired effect.
Remember, practice makes perfect! Experiment, try different subjects, and have fun while discovering the unique possibilities of long exposure photography.


Be the first to comment